Beginning OpenGL Development on OS X
For a while now, I’ve been meaning to get into some video game development. I’m also interested in OpenGL, and so I figured why not dive headfirst into OpenGL and make a video game? I have a few game ideas I want to explore, but baby steps first right?
My original plan was to build:
- a Pong clone vs. AI
- a Geometry Wars clone
- Start going crazy with my own ideas
However, I recently stumbled upon Game Mechanic Explorer when browsing HackerNews. It’s a really cool site made by John Watson where he has created a bunch of different game mechanics using the Phaser game framework. He’s got each of them in a dedicated page, with a playable sample as well as code and explanations. It’s an amazing site and I highly urge everyone to spend a few minutes to check it out.
After seeing that site, I’ve decided to replace #1 in my original plan to recreating his samples but in OpenGL. I think it’s much more ambitious than creating a Pong clone, but I think it’s still in reach.
I’ve found a few resources to help me get started with OpenGL development. I’ll list them here for reference, but I won’t go into detail on any of them since that is not within the scope of this post.
- The OpenGL SuperBible (as of this writing, the 6th edition for OpenGL v4.3 is the latest)
- OpenGL Programming Guide: The Official Guide to Learning OpenGL (as of this writing, the 8th edition for OpenGL v4.3 is the latest)
- Open.gl (A modern online guide to OpenGL development, looks like it’s targeted at OpenGL 3.2)
However, the one thing I will say about The OpenGL SuperBible (since it’s the one I purchased) is that the main complaint others have had with the book rings true with me: the authors abstracted much of the code into a library for the book. This makes things difficult to understand and track down for newcomers to OpenGL. It does make things easier to code if you follow along in the book, but you won’t understand what the library is doing and you’ll be lost without the library and the book.
In the rest of this post, I’ll explore how to get set up to start developing with OpenGL on Mac OS X as well as show to to render a simple triangle.
Before we start, you can find the full code for this blog post at this gist. If you’d like to see the full project with my current progress, you can find it on Github.
So to get started with OpenGL development on OS X, I would suggest to get Homebrew if you don’t have it already. The first thing we need to do is to get a couple of libraries. These aren’t necessary and there are a few alternatives to these, but these are the ones I got:
Now, let’s get familiar with the Makefile we’ll be using:
This should be pretty standard if you’re familiar with Makefiles. The one thing to note is on line 19: the linker flags. OS X comes with OpenGL, so we want to specify to use it, and of course the two libraries that we just installed should be linked as well. As we add more files, we’ll add them to the OBJS list.
Let’s make a simple program that will render a triangle on the screen:
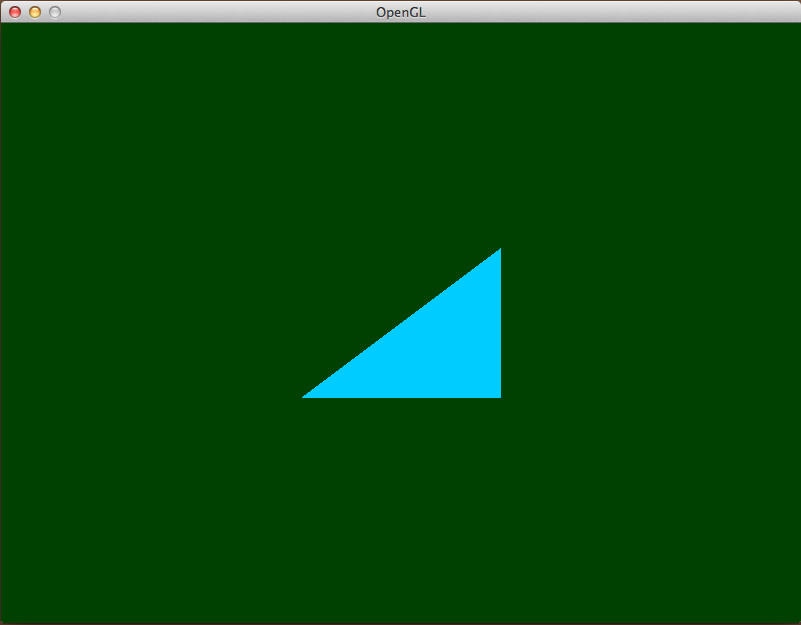
I’ll break up the code for explanation purposes, but the full source is here.
There are many callbacks that GLFW provides. We only need two for this exercise. The first is to print out any errors that happen, and the second is to define that when the ESC key is pressed, the program should quit. These following functions just define what to do, we will register them when we do our set-up of the program.
1 2 3 4 5 6 7 8 9 10 11 12 | |
There are many things to do to set-up an OpenGL program for rendering. The following code is commented and should have explanations for each major section.
1 2 3 4 5 6 7 8 9 10 11 12 13 14 15 16 17 18 19 20 21 22 23 24 25 26 27 28 29 30 31 32 33 34 35 36 37 38 39 40 41 | |
Shaders are a critical part of a GL app. They are programs that run on the graphics card and ultimately decide what the gets rendered to the screen. Notice that in our code we use version 410 core. This has to match our version of OpenGL we are using, which is the core profile in version 4.1, thus 410 core.
1 2 3 4 5 6 7 8 9 10 11 12 13 14 15 16 17 18 19 20 21 22 23 24 25 26 27 28 | |
After defining our shaders, we’ll need to compile them (at runtime) and bind them to our GL program so that the graphics card can use them.
1 2 3 4 5 6 7 8 9 10 11 12 13 14 15 16 17 18 19 20 21 22 23 24 25 | |
Once we’ve told the graphics card to use our program with the shaders bound, we can start drawing things. The next chunk of code is our render loop. It’ll continuously draw our triangle to the screen until the program exits.
1 2 3 4 5 6 7 8 9 10 11 12 13 14 15 | |
This is a lot of code and it’s okay if you didn’t read it or understand it fully. I’ve commented it to try to explain, but some of the concepts I’m still trying to grasp still. There are two main takeaways I want to drive home here:
- There’s a lot of set-up code.
- Shaders are source code too. Keeping them as static const char* is shit.
For my next post, I’ll detail how I moved the shader source code out of our C++ code so that it’s not entangled in there and easier to edit. Shaders are very important in graphics and would be completely unwieldy if they were stuck in our C++ code. For the post after that, I’ll show what I have done to refactor much of the set-up code into other classes and modules.
Again, if you’d like to see my latest source code, it’s on Github
Until next time!